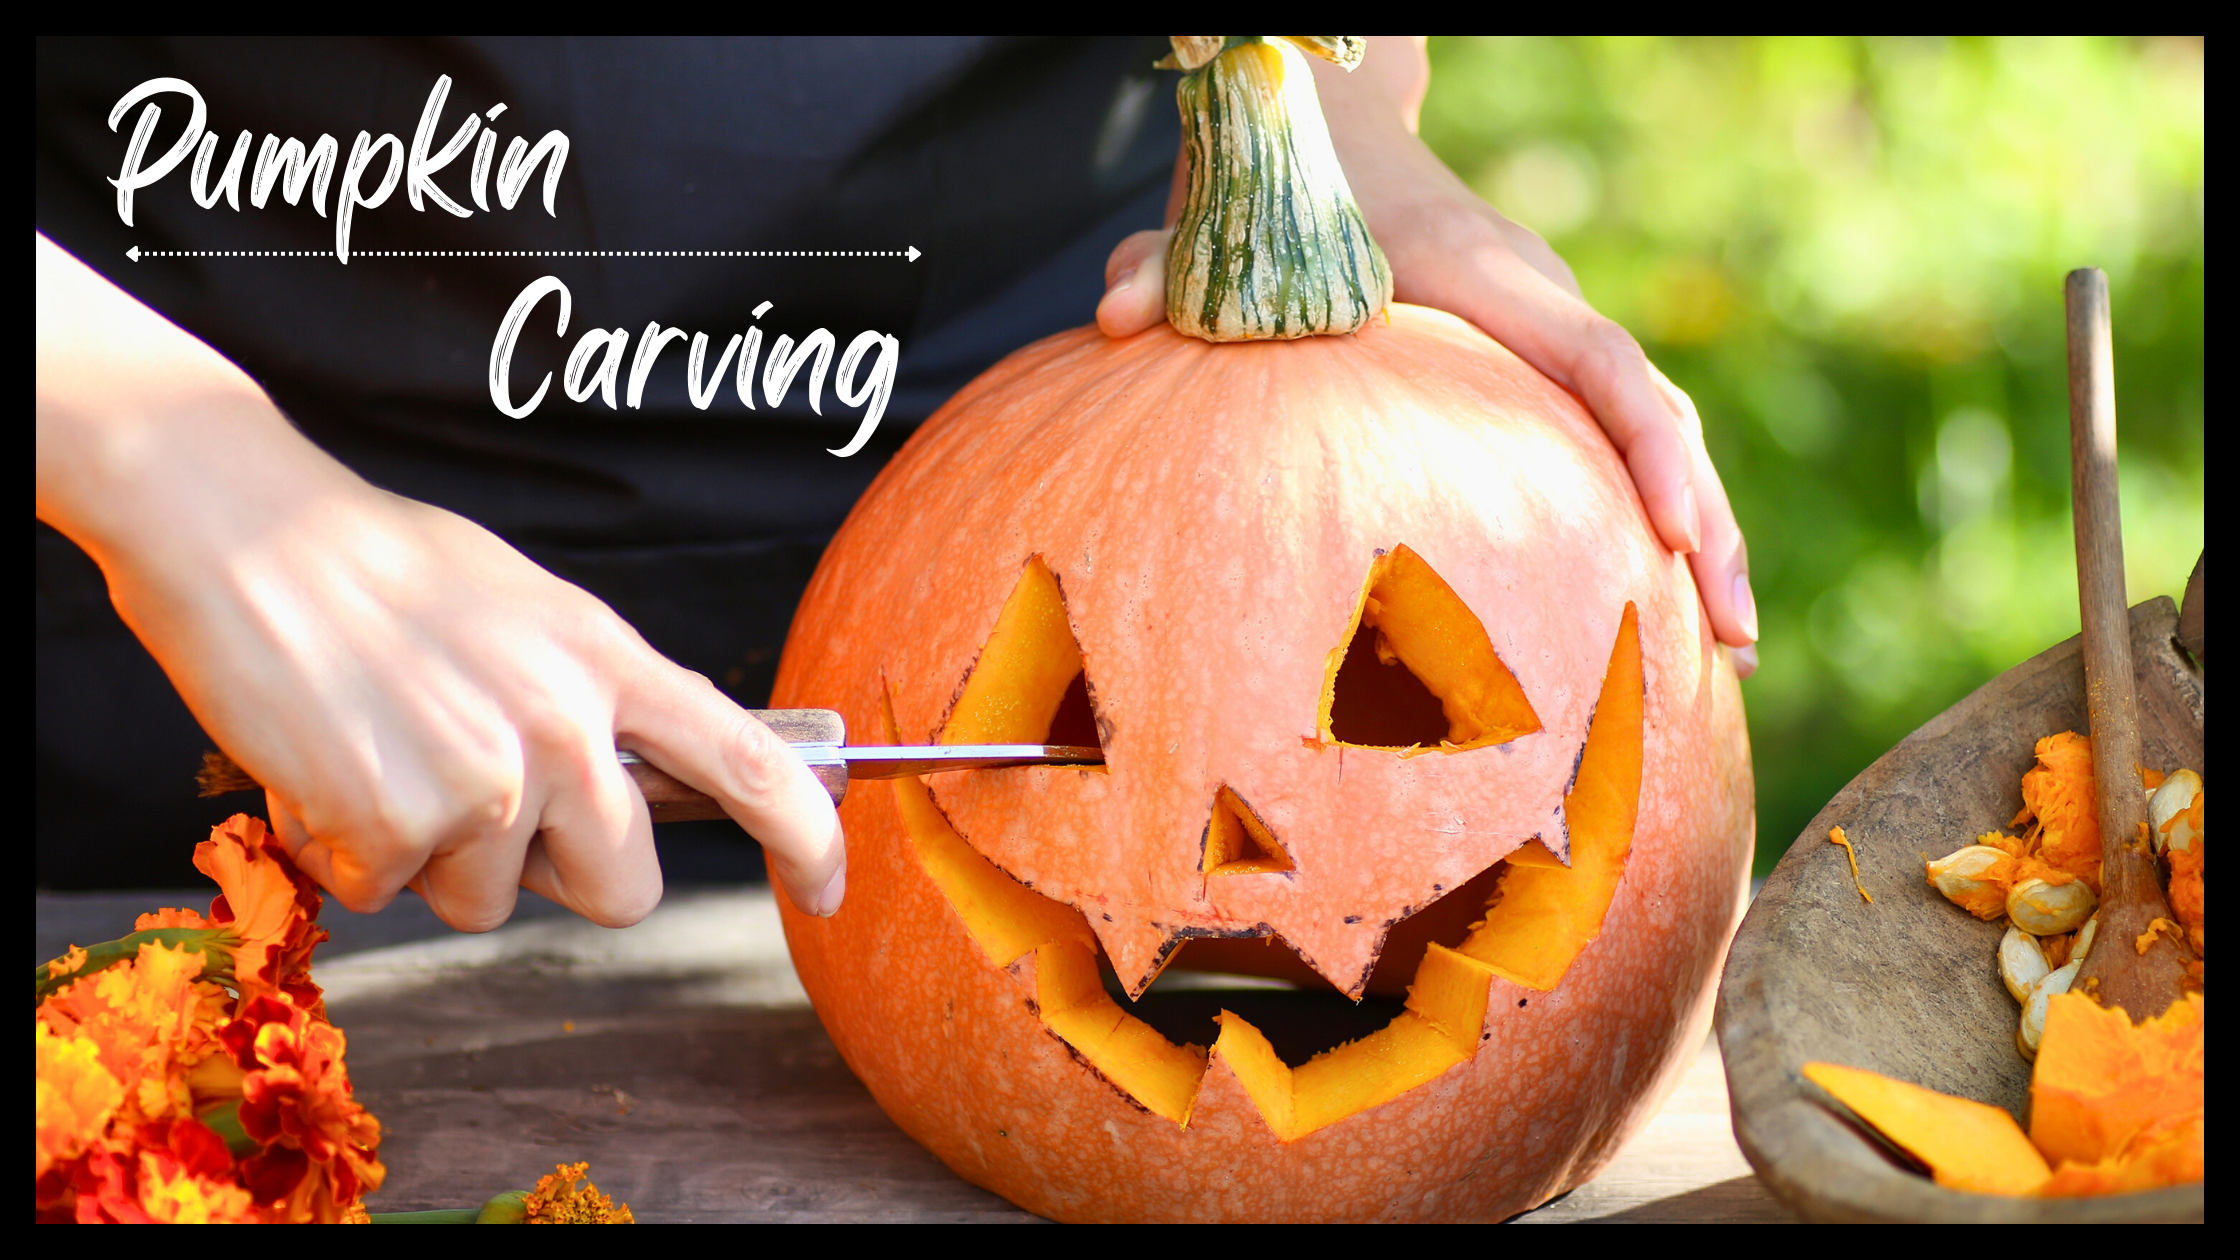
Pumpkin Carving
Posted by Knifeworks HQ on 11th Oct 2023
Pumpkin carving has long been a cherished tradition during Halloween, introduced to the United States by Irish immigrants in the late 19th and early 20th centuries. Today, nothing illuminates the front porch on Halloween night quite like a beaming jack-o'-lantern, extending a warm welcome to eager trick-or-treaters.
Choose Your Winner
When it comes to pumpkin carving, the first step is finding the perfect pumpkin. Look for a pumpkin with firm, unblemished skin in order to achieve the best results. Take your time inspecting it from all angles to make sure there are no signs of rotting. Additionally, pay attention to the stem as its color can indicate freshness.
Another factor to consider is the thickness of the pumpkin's skin. Thicker skin makes carving easier and more enjoyable. There are a couple of ways to determine this while shopping so you don't end up with a disappointing choice. A heavy feeling pumpkin relative to its size often indicates a thicker skin, while a thick stem is another reliable indicator. By selecting a top-notch pumpkin, you're setting yourself up for successful and satisfying carving experience.
Choose Your Tools
It is important to start your design by sketching it out using a washable marker. Avoid using industrial markers as they are not suitable for this task. Instead, a sharp paring knife or craft knife can be used. Additionally, pumpkin carving kits are available as well. A melon baller can be surprisingly useful in the carving process. Make sure to have a large spoon available to scoop out the flesh and a bowl for the discarded pulp and seeds. Lastly, protect your work surface by covering it with plenty of newspaper.
Let's Carve
To ensure a sturdy pumpkin carving, it is recommended to start cutting from the bottom rather than the top. This technique helps prevent the sides from collapsing later on. Removing the stem cuts off the pumpkin's source of nutrients, which can lead to a shorter lifespan for your carved creation. However, if you choose to carve from the top, it is advised to cut out the lid at an angle. This way, when you replace the lid, it will not fall inside the pumpkin as it would with a straight up-and-down cut. For this task, a boning knife should be suitable. Take care to thoroughly remove all of the pulp and consider removing some additional material for easier piercing of the shell in the desired "face" area. To accomplish this, an ice cream scoop will serve just fine.
To create a jack-o'-lantern with precision, you can make use of a pattern by drawing your desired face to scale. Simply secure the pattern onto the front of your pumpkin using tape, then proceed to create guide holes along the lines you wish to carve using a fork or pencil. Alternatively, you can opt for a more convenient approach by utilizing a pumpkin carving kit. These kits usually include essential tools like markers, scrapers, cutting utensils, and even pre-made patterns for added creativity.
To carve a pumpkin, place it on your lap for stability. For easier carving, position the pumpkin so that the face is facing upwards towards you. Although a serrated kitchen knife or an X-Acto knife are recommended for basic carving, if you want to create more intricate designs, you could consider using a small saw. It's important to avoid cutting at an angle; clean and straight up-and-down slices yield the best results.
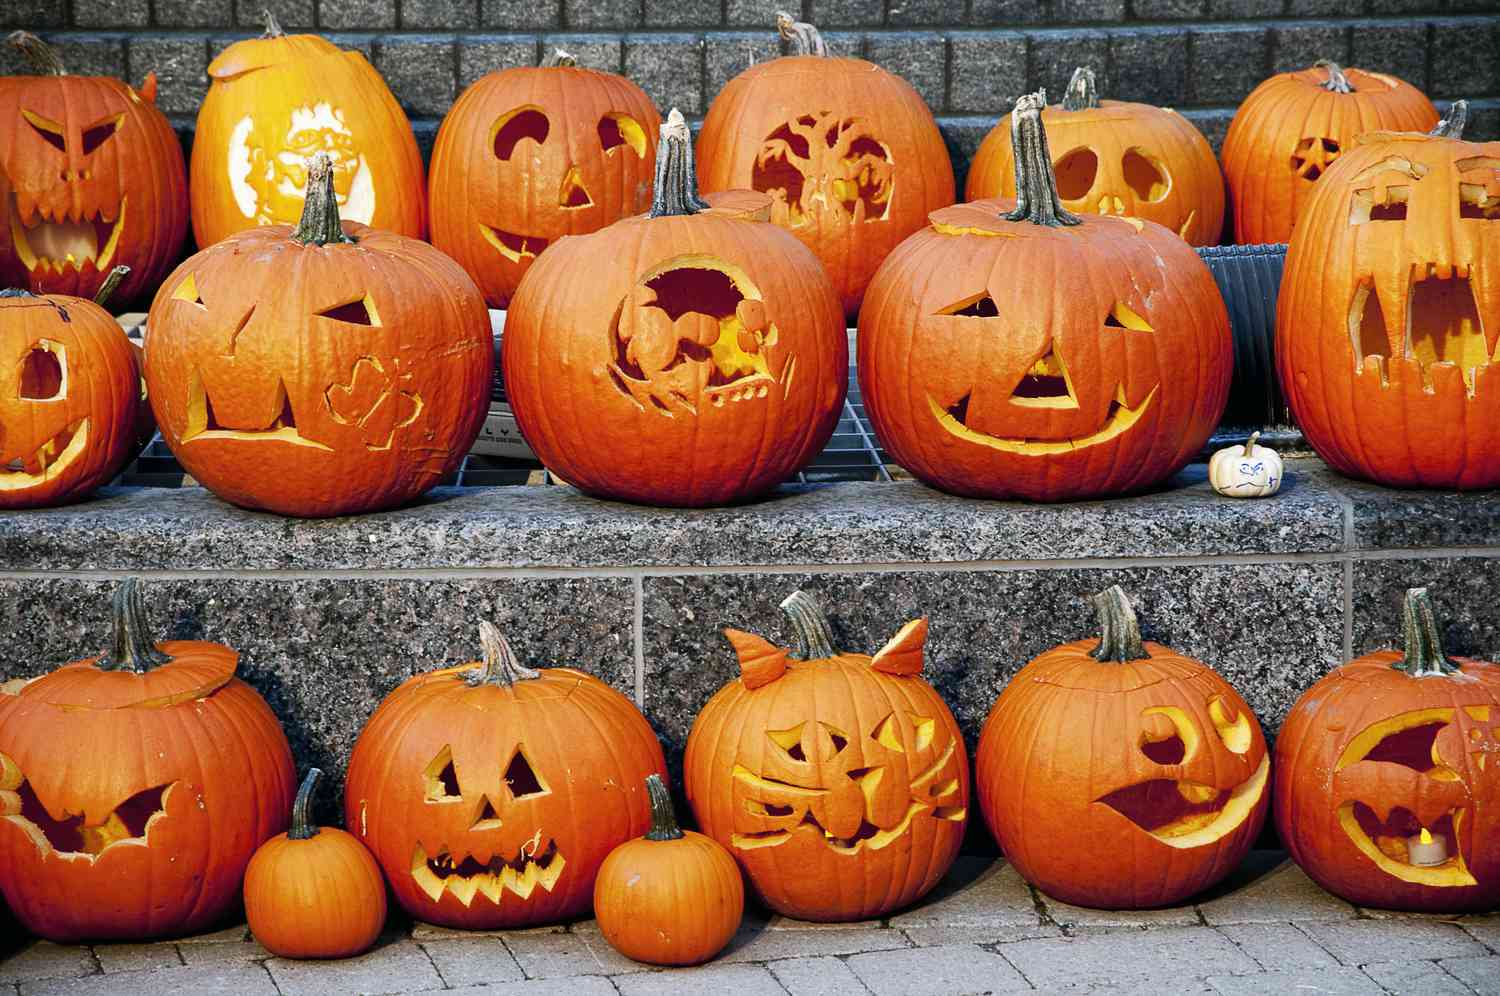
Begin by making simple initial cuts. By removing the larger sections of pumpkin first, you can revisit and refine the details of your design later on.
Get creative with your leftover scraps. You can transform a discarded piece of pumpkin shell into unique items like a tongue, pipe, or even hair accessories. Don't let anything go to waste - repurpose and create something extraordinary out of your leftovers.
Keepin' it Fresh
To prolong the life of your carved pumpkin, it is recommended to spray it with diluted lemon juice after carving. This helps slow down oxidation and maintain its freshness. Another helpful tip is to wrap your pumpkin and store it in the refrigerator until you are ready to display it. Additionally, coating the exposed areas with petroleum jelly can prevent mold growth and contribute to its longevity.
Light it UP!
To infuse your jack-o'-lantern with the delightful scent of pumpkin pie, try sprinkling cinnamon on the inside before lighting the candle. This simple trick will enhance the experience and add a touch of deliciousness to your Halloween decor. When placing the candle inside, it's best to do so before lighting it. Allow the lid to remain on for a few minutes while the candle burns and then create a small hole where the lid has burned black. If you prefer not to use votive candles, consider using blinking Christmas lights for an eerie effect. Alternatively, battery-operated votives can provide a stress-free alternative that still adds a spooky ambiance. Enjoy your perfectly scented jack-o'-lantern!